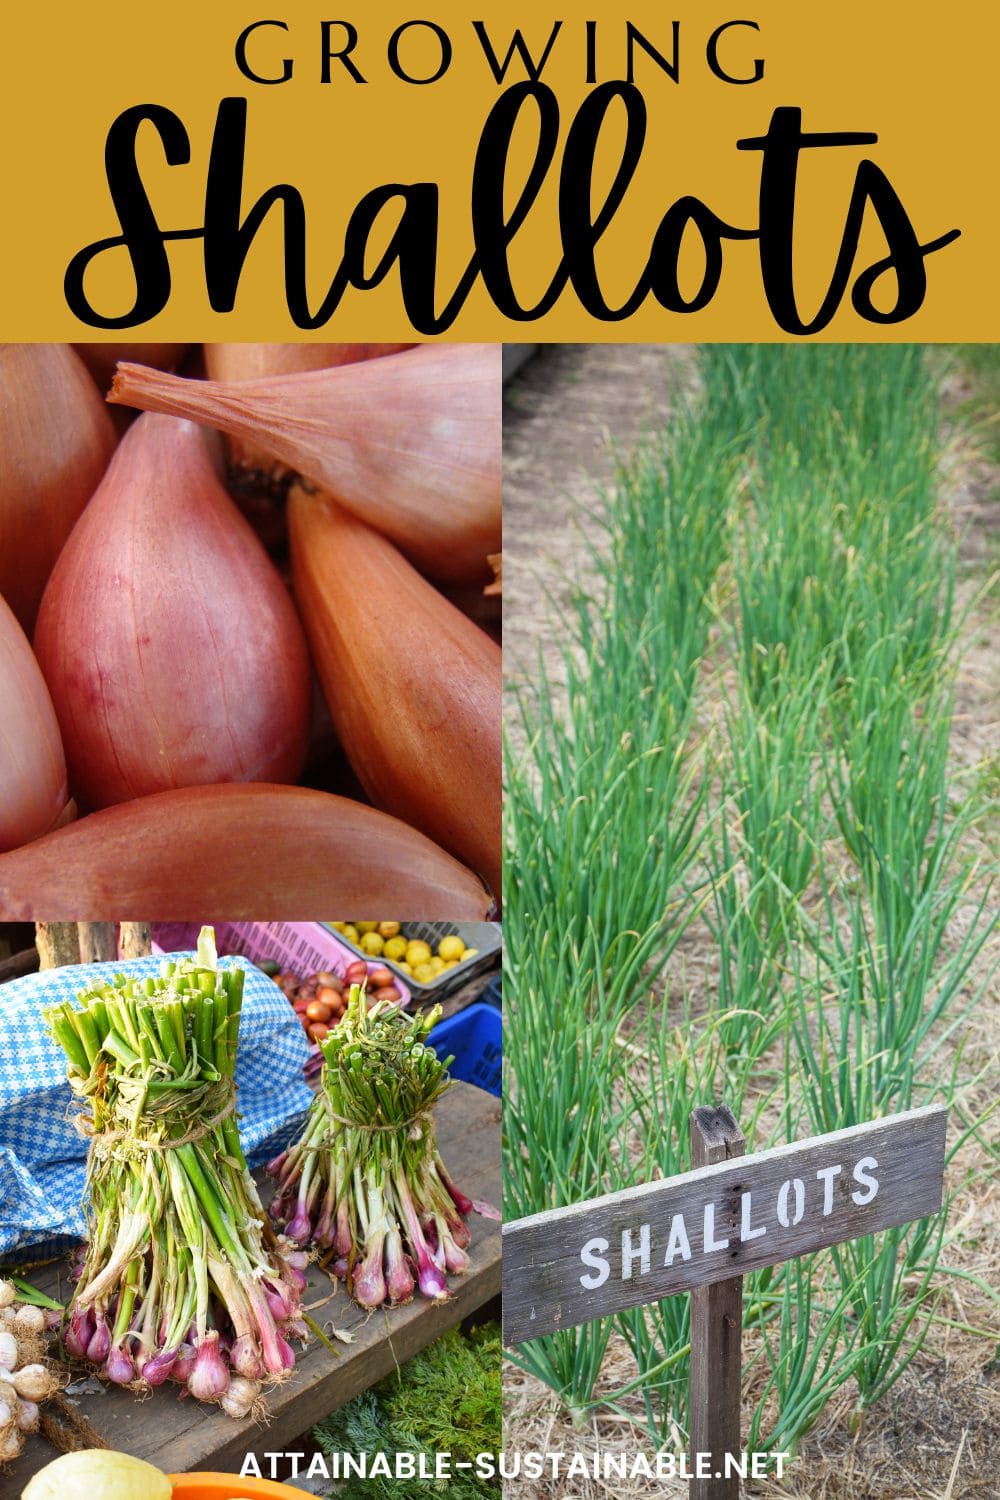
Growing shallots in your home garden is a great way to enjoy their mild oniony flavor whenever the mood strikes. Not quite the same as garlic, and not quite the same as onion, shallots have their own unique flavor palate. These are easy to grow, delicious, and perfect for your fall or spring garden.
Garlic is another great fall veggie for home cooks to grow!
Contributed by Jodi Torpey, author and Master Gardener.
Growing shallots
Shallots aren’t onions, even though they may look like small onion bulbs. They aren’t garlic bulbs either, even though they grow in heads with multiple cloves. Shallots are a tasty vegetable in a category all their own.
These easy-to-grow bulbs probably began as wild plants in the Mediterranean region before people discovered them and started sharing them on their travels. The small bulbs have a more delicate flavor than onions and chefs prefer them for recipes that need a sweeter, savory taste.
Shallots (Allium ascalonicum) belong to a big family that includes many types of onions, chives, leeks, and garlic. They’re flavorful, contain vitamins and minerals, and are grown as annual plants even though they’re perennial by nature.
Grow Some Greens!
Ready to grow fresh greens, no matter WHERE you live? Sign up for my
FREE quick-start guide and start growing some of your own food!
New to gardening? Limited on space? The 5-Gallon Garden gives you the skills you need to grow food in the space you have. Get started with your garden today!
 The 5-Gallon Garden
Planting shallots
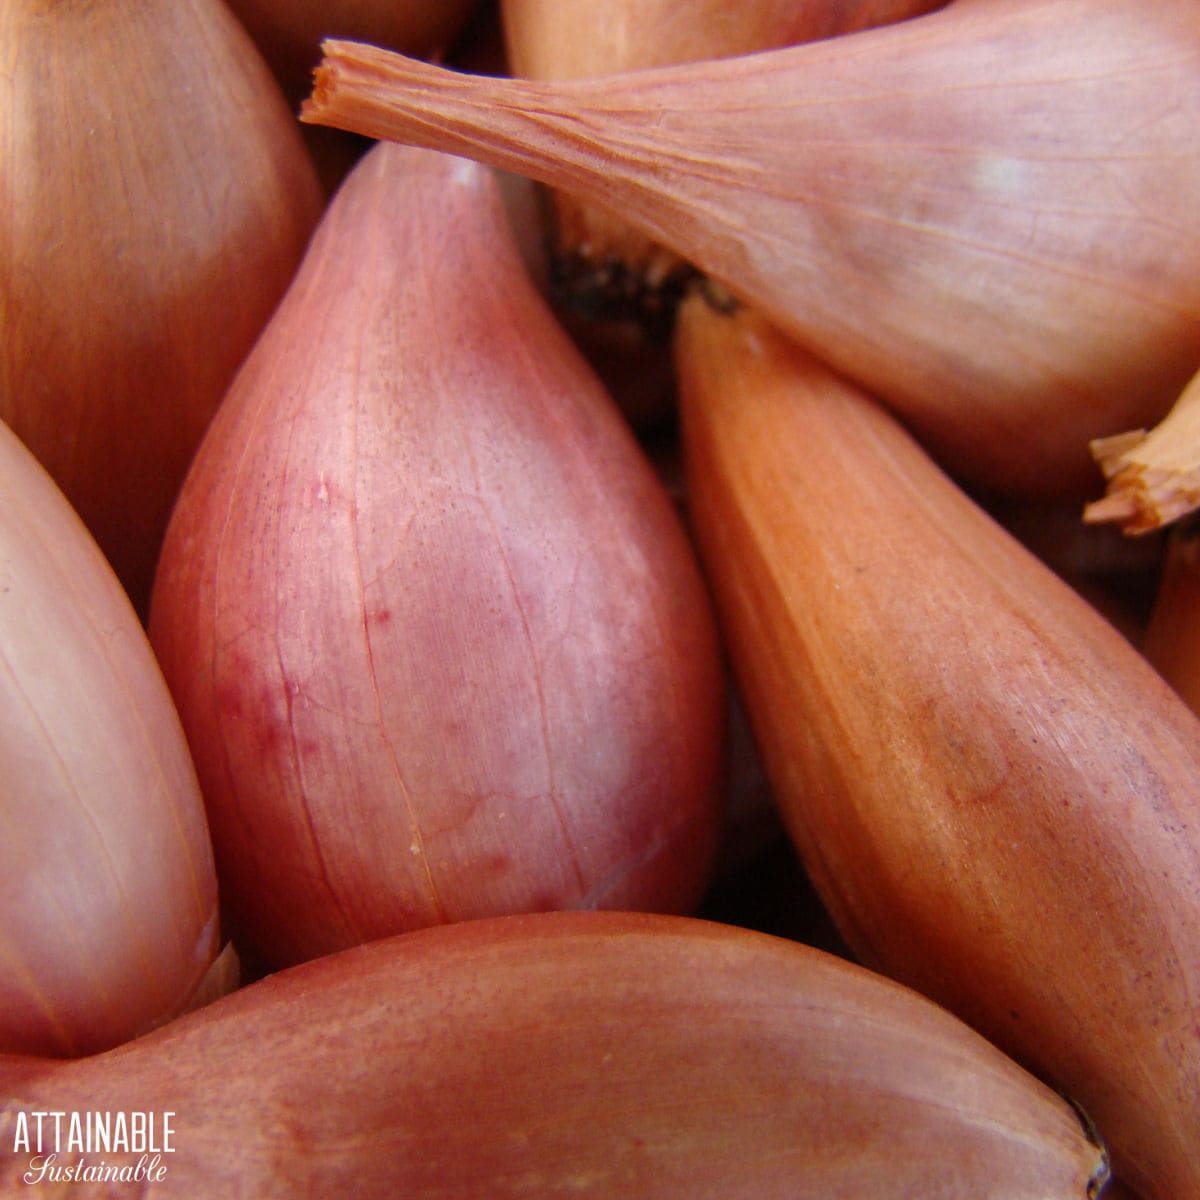
Sometimes referred to as multiplier onions, each small shallot clove in the head is covered with thin skin in colors from pink to light brown. The flesh is typically off-white but may have shades of light green or purple.
Shallots are typically planted as sets in fall and go dormant in winter. Sets are small bulbs grown and saved from the previous season. In spring they start to grow again and produce shallot bulbs for harvesting. Plant sets at the same time as you would garlic in your region.
Separate multiple bulbs from each other and plant with the tip up and root end down, about 1-2 inches deep and about 6-8 inches apart; 10-12 inches between rows. For the largest shallots, allow plenty of space between each shallot bulb. Plant bulbs at a shallow depth by aligning the tip of each bulb even with the soil surface. Mulch over fall-planted shallots in areas where temperatures dip below 0ºF in winter. Remove mulch in spring.
You can also plant shallots in spring by direct seeding in the garden or grow them from transplants started indoors. Select the method that fits the timing for planting in your region. For example, if you prefer to plant shallots from seeds, start them indoors in January or February so transplants will be ready for the garden in March or April.
Select a planting site that gets full sun, and is weed-free with soil that drains well. When the soil temperature reaches 45-55 degrees in spring and the soil has dried to be workable, transplant shallots to the vegetable garden, raised bed, or container.
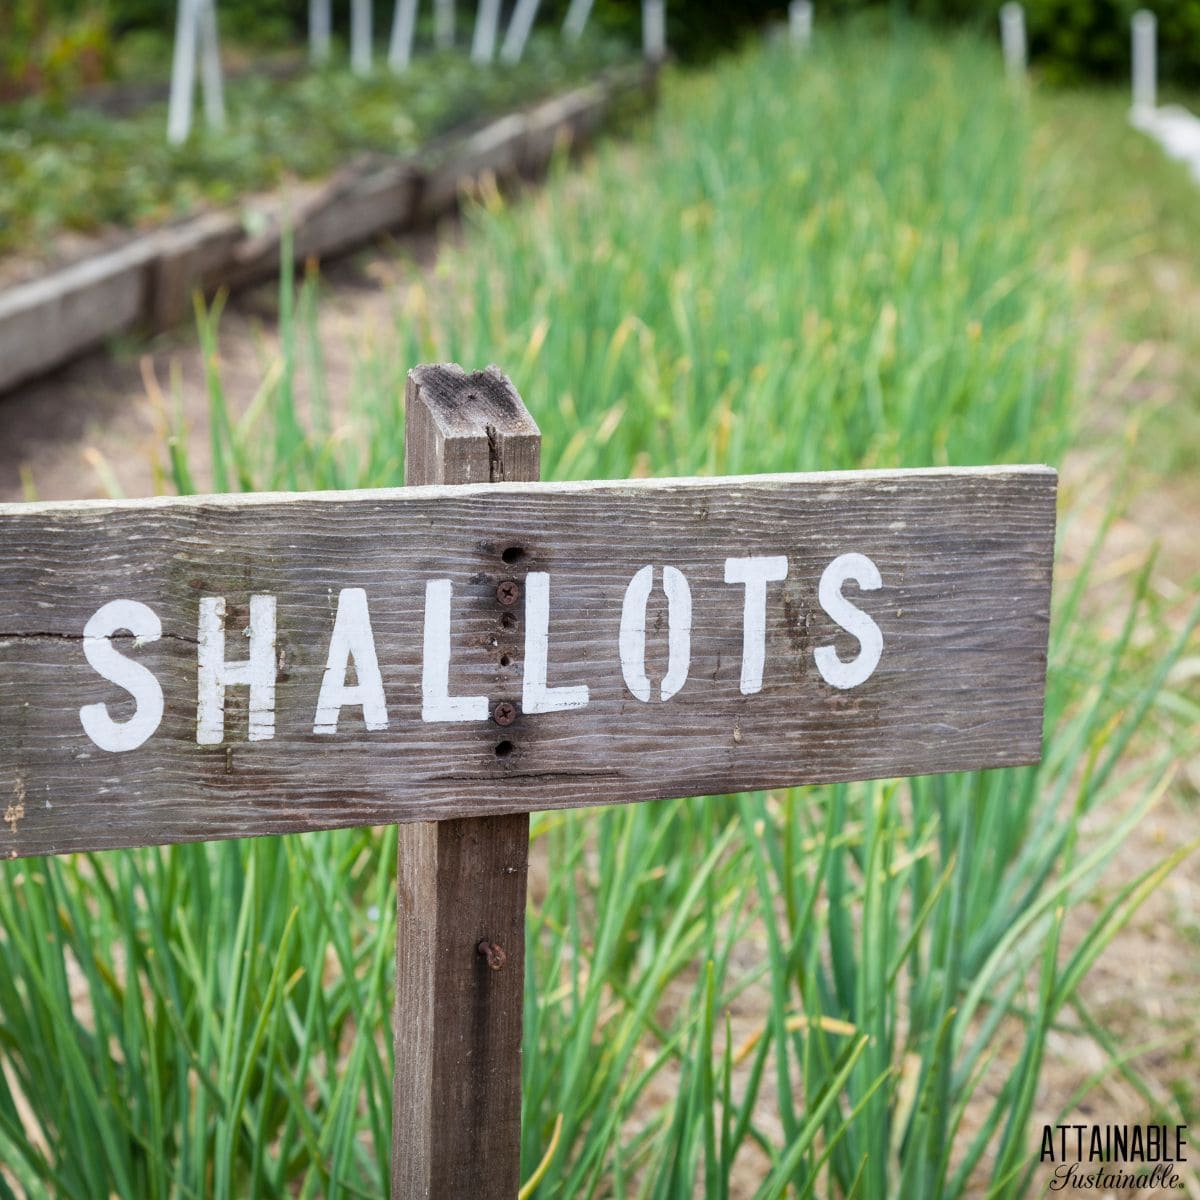
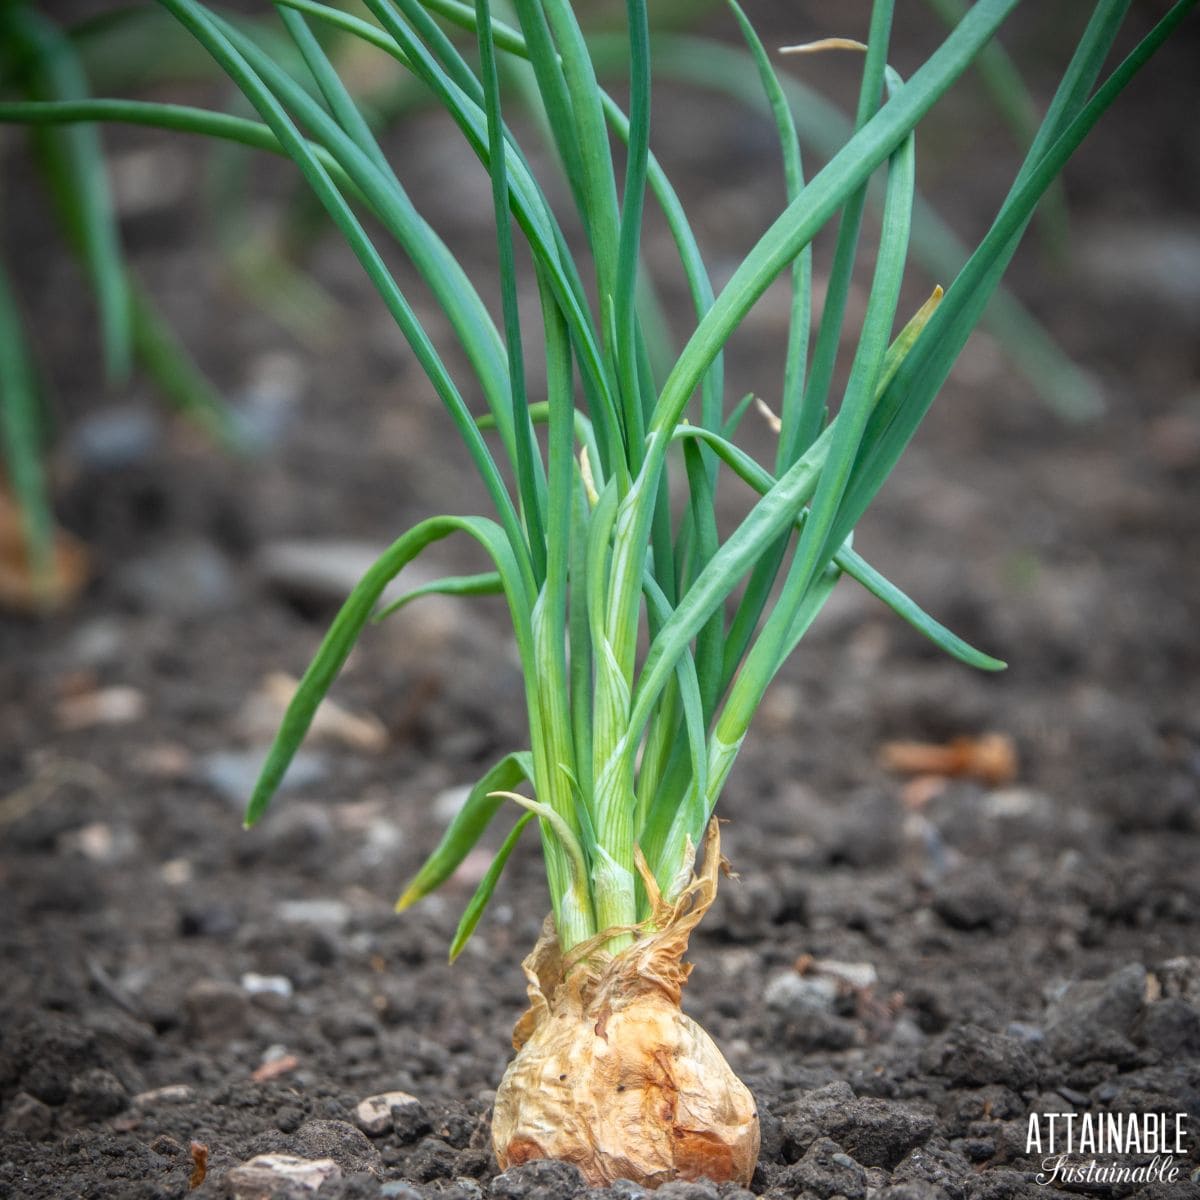
Shallots are perfect for planting in a home garden
Shallot varieties for home gardens
Shallot types include French varieties that are what chefs typically use and there are Dutch varieties that are larger with a stronger flavor. Home gardeners can choose any shallots that best fit the flavor, size, shape, and time for storage they prefer. Here are four popular shallot varieties:
French shallots have a smooth, rich onion flavor for a variety of recipes. The bulbs mature in late summer and can be stored for up to six months.
Ambition is a globe-shaped French-type shallot with red-brown colored skin. Ambition has a delicate flavor and can be stored for up to a year.
Figaro is a banana-type shallot that’s a cross between shallots and onions resulting in a large, elongated-shaped shallot. The combination makes these shallots delicious and easy to slice with an extended shelf life.
Dutch Red shallots have pink outer skin and can be planted in fall or early spring. This variety has a long storage life of a year or more.
How to grow shallots
Shallot bulbs are planted like garlic while maintained and harvested more like onions. To plant shallot sets, choose only the biggest and healthiest dry-skinned shallots that are firm and plump. Each bulb will grow into a cluster of shallot bulbs.
Requirements for growing shallots
Soil requirements
Amend the planting bed so it’s filled with fertile, but quick-draining soil. Shallots are especially susceptible to rotting in the ground if the soil holds too much water. Just like garlic, shallots will grow larger in looser soil. If the soil is clayey or too dense, cultivate the planting area deeply and add organic matter, like compost and a well-balanced fertilizer.
Light requirements
Like onions, shallots grow best in full sun, but plants can take partial or dappled shade.
Fertilizer and water requirements
Shallots grow well when there’s plenty of balanced nitrogen fertilizer and moist, weed-free soil. Plants have fairly shallow root systems so they need consistent moisture while actively growing, especially if the weather is hot and dry.
However, too much water (and fertilizer) makes for soft shallots that are slow to mature. If the bulbs are too soft when harvested, they won’t store well. A good watering practice is to water deeply and then water again when the soil dries to the first few inches.

How to prevent shallot-growing problems
Some onion pests, like onion maggots, may harm shallots, too. Use floating row cover to prevent onion flies from laying eggs near plants.
To prevent soil-borne problems, avoid planting shallots where other onion (allium) family members, like onions and garlic, have been grown in the last 3 years.
Use mulch to keep weeds down between plants and pull instead of cultivating to prevent damaging tender bulbs.
Keep an eye on the shallot patch as plants are growing and prune any seed stalks that might form. Make a straight cut as close as possible to the base of the stalk.
Growing shallots in containers
Shallots can grow well in containers. Select a large container filled with potting soil. Ensure there are holes in the container’s bottom for water to drain.
Dig in a slow-release fertilizer with the potting soil and plant shallots as seeds or transplants just as you would in the garden bed or a raised bed.
Water plants and keep the soil moist; thin plants as needed for the correct spacing for the varieties you’ve planted.
You can also plant a smaller container of shallots in spring and plan to bring that container indoors when the weather turns cold. Shallots can grow on a sunny windowsill, and you can use the greens for fresh flavor in winter.
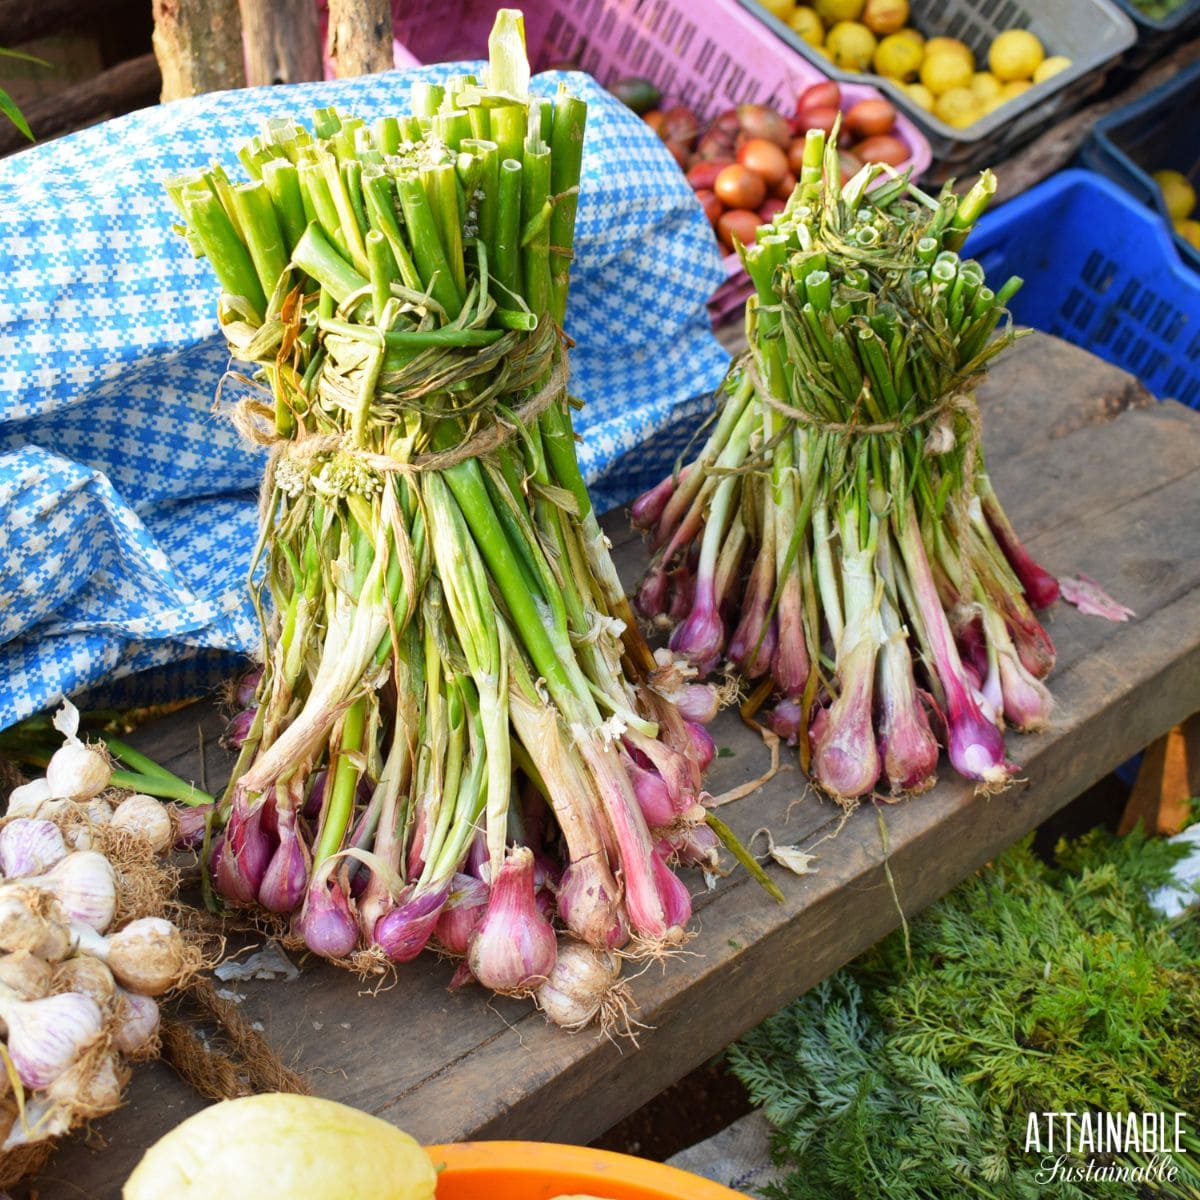
Harvest shallots in bunches, cure and store them in a cool dry place
How to harvest shallots
Wait for the bulbs to mature in late summer and the tops of the plants to yellow and fall over before harvesting shallots. Look for plump, firm shallots, carefully dig or pull the shallots, keeping the leaves attached.
To cure shallots for long-term storing, carefully separate the bulbs and place them in a warm and dry location (with good air circulation) for about two weeks. Then cut the dry foliage and place the shallot bulbs in a mesh bag and store in a cool dry place. When they are cured and stored correctly, shallot bulbs can be stored for six months or longer.
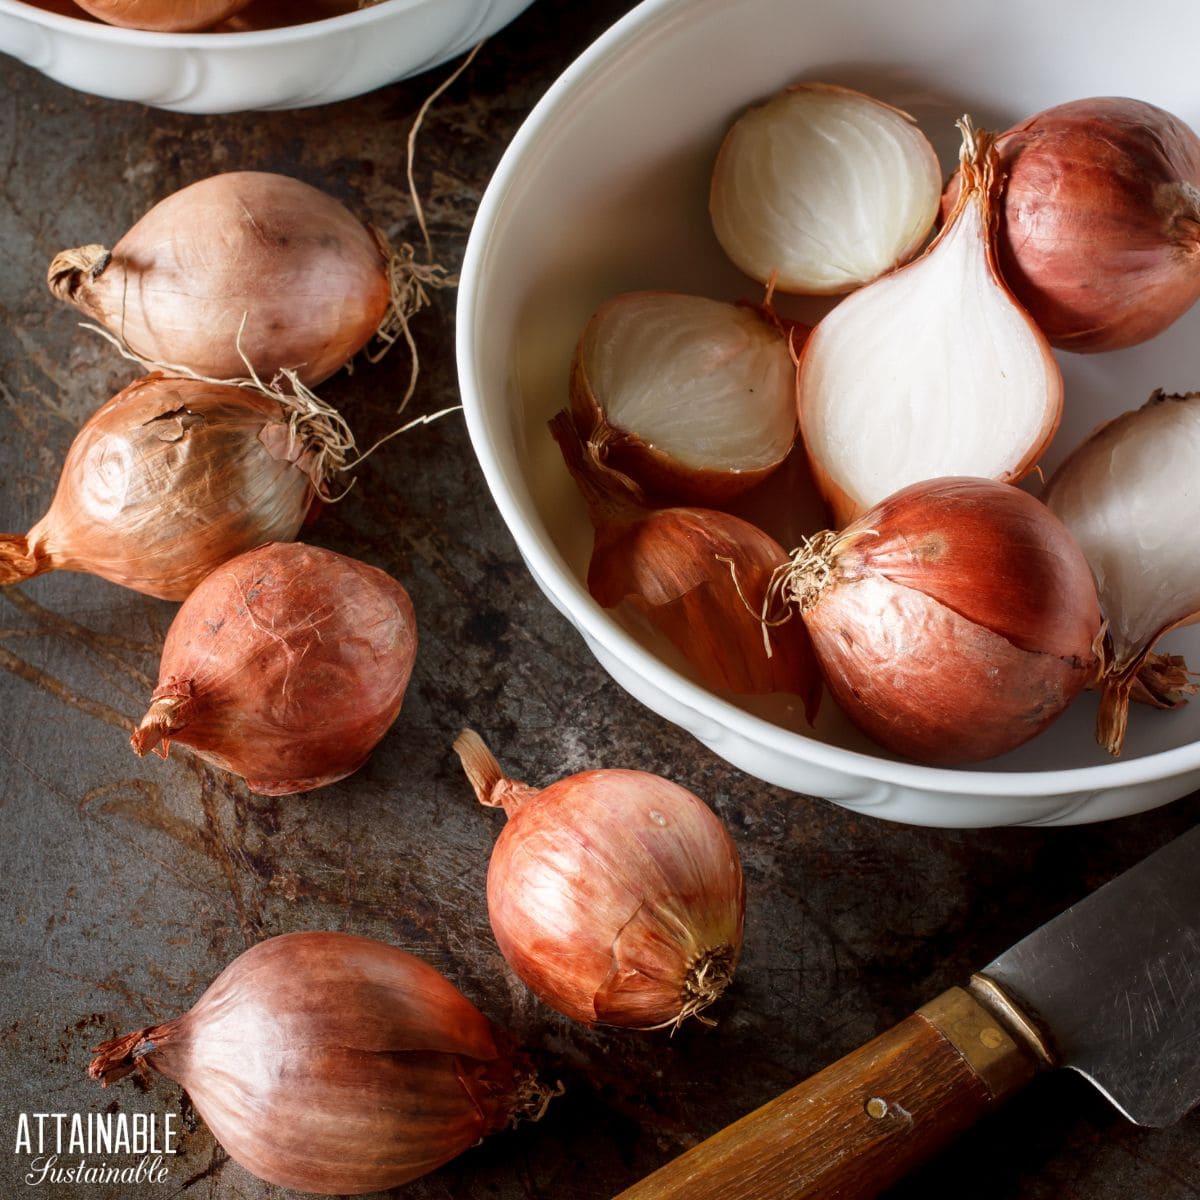
Shallots are mild-flavored and delicious for cooking
Using shallots in the kitchen
When using shallots in the kitchen, recipes that call for one shallot mean one clove from the head.
Use like onions in recipes that call for a milder onion flavor. Slice or chop and use raw in marinades, vinaigrettes, and salsas, or replace onions with shallots in soups, casseroles, and egg dishes. Fried shallots make a delicious topping to salads.
Avoid cooking shallots over high heat to prevent burning them and cook over low heat just until soft.
How to propagate shallots
The two most common ways to propagate shallots are to divide the bulbs and replant them in fall or dig up bulbs at the end of the season to save over winter and plant in spring.